Overview/Introduction
Omeka is a digital tool used for curation of digital exhibitions and articles.
Details
Accessing Omeka
1) You can create your own Omeka site or gain access to Ursinus’ “Digital History at Ursinus” Omeka site by contacting Instructional Technology. They will create an account for you. You should receive an email prompting you to create a password. Use your Ursinus password.
2) When you receive the setup link via email, you can sign in to the Ursinus Omeka site, at https://omeka.ursinus.edu/admin with your Ursinus credentials. Do NOT add the “@ursinus.edu” to your user name.
Add a Collection
1) Create a collection/album for your items first by clicking Collections on the right-hand side.
2) Search the previously created collections to see if there’s a collection you can use. If there isn’t, select the green Add a Collection button.
3) Give the collection a title and then Save the collection.
Add an Item
1) To add an item (e.g. a file, image, audio, video) to Omeka, select the Items tab on the left-hand side and click the green Add an Item button.
2) Add as much metadata as you can in the fields provided and then select the Files tab at the top. Select Choose File and find the file on your computer.
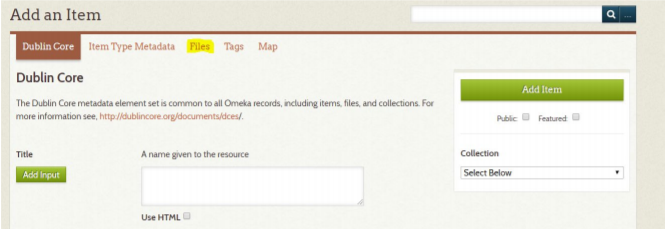
3) Click the dropdown under Collection on the right-hand side to add it to a previously created collection.
4) Check the box on the right-hand side next to Public if you wish to make this item public to the world (if you’re not ready to publish, leave this unchecked). Then select Add Item.
Create an Exhibit
1) Select Exhibits on the left-hand side, then click the green Add an Exhibit button.
2) Give your exhibit a title, slug, and description. Choose a Theme from the dropdown menu and choose Configure to change the settings.

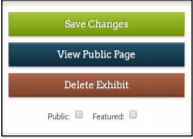
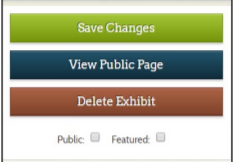
3) Choose Save Changes and then View Public Page to see what the theme looks like.
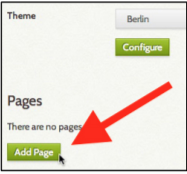
4) Return to the Exhibit setup and, at the bottom of the page, click the green Add Page button.
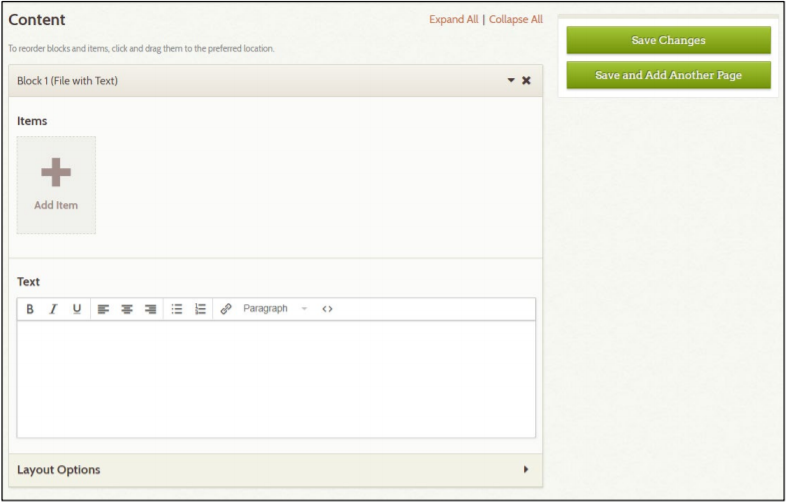
5) Give the page a title and then choose a Content Block Layout for that page (e.g. a file with text). Click Add New Content Block at the bottom.

6) Scroll up and add information to that content block (e.g. if you chose a file with text block, you will need to add an item and some text). Scroll down and choose another content block if you wish. When you’re finished, choose Save Changes.
7) Continue adding pages until your exhibit is complete. Click View Public Page anytime you wish to see a preview. Edit the Exhibit and check the Public box when you are ready to publish that exhibit.
See also